Healthy Chocolate Quinoa “Risotto”

Quinoa Chocolate Risotto 1Ingredients

  • 1/3 Cup of  Cooked Quinoa or Brown Rice 
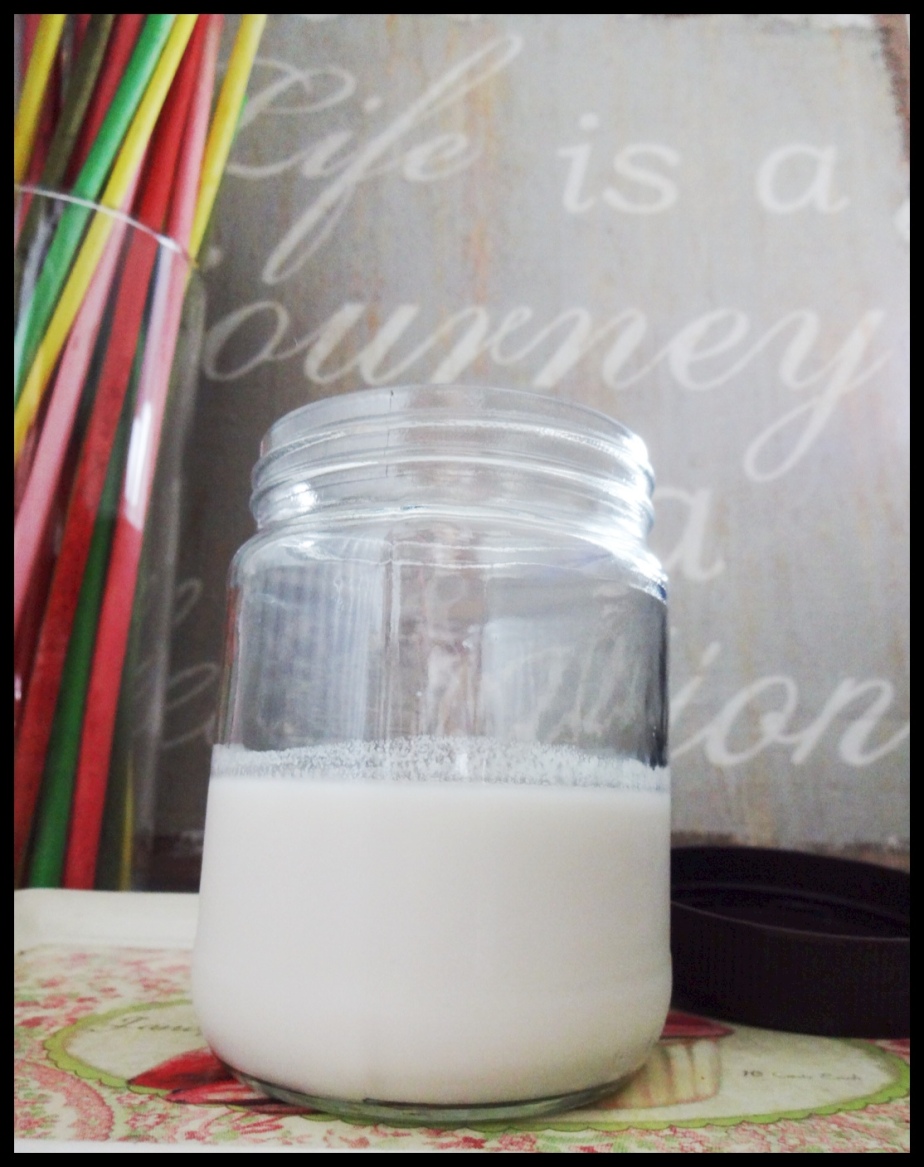
  • 3/4 Cup of Almond Milk 
  • 1-2 Tablespoons of Sweetener or Brown Sugar
  • 1 Teaspoon of Cacao Powder
  • 30 Grams of Sugar-Free Chocolate (Dark, Milk, whatever you prefer)
  • 1/2 Banana
  • Chopped Walnuts 


Quinoa Chocolate Risotto 2
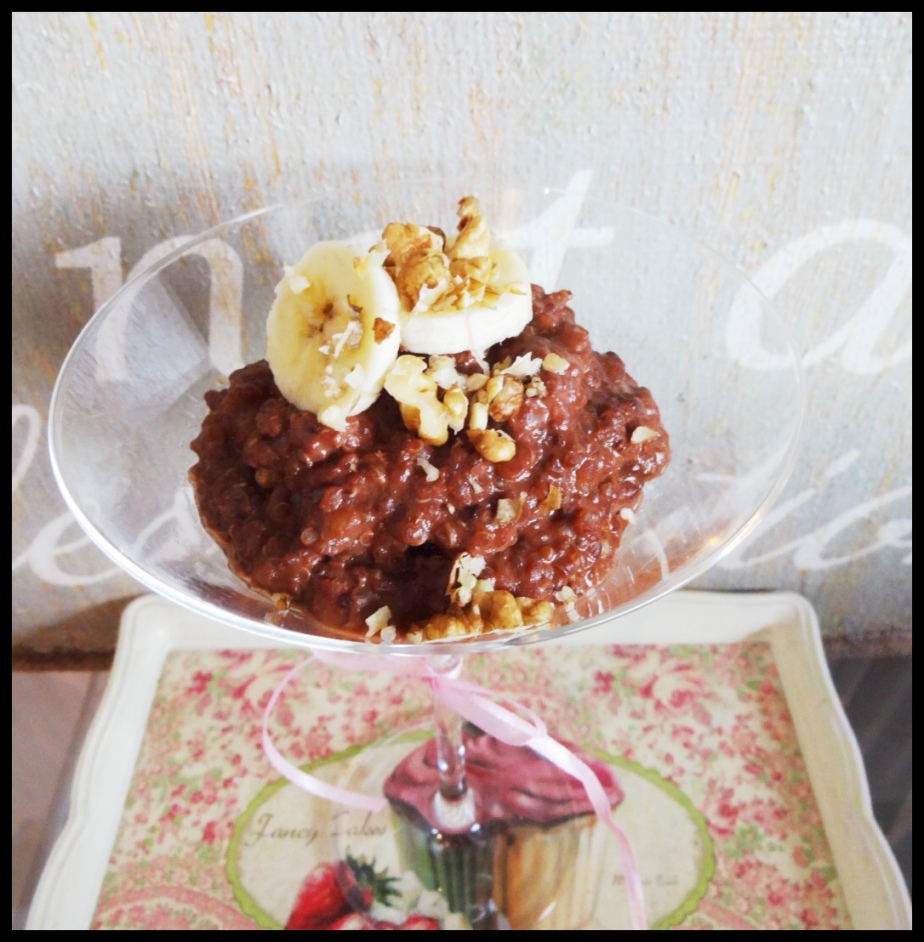
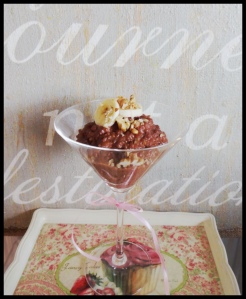
A couple years ago when I still lived in Venezuela, I used to go to this restaurant that served the most amazing chocolate Risotto! It had rice (of course), Nutella Chocolate sauce, chopped bananas and walnuts…it was served warm. YUM!! One of the yummiest desserts I’ve ever had!

So, to satisfy my sweet tooth but keep my fitness goals in check, I decided to come up with this Clean version of the Chocolate Risotto.

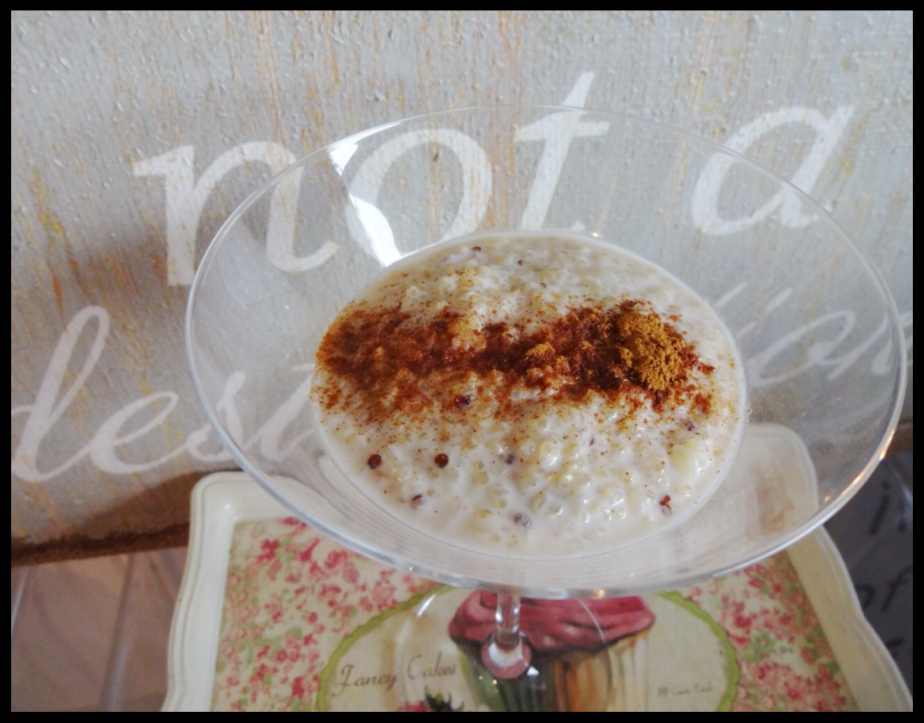
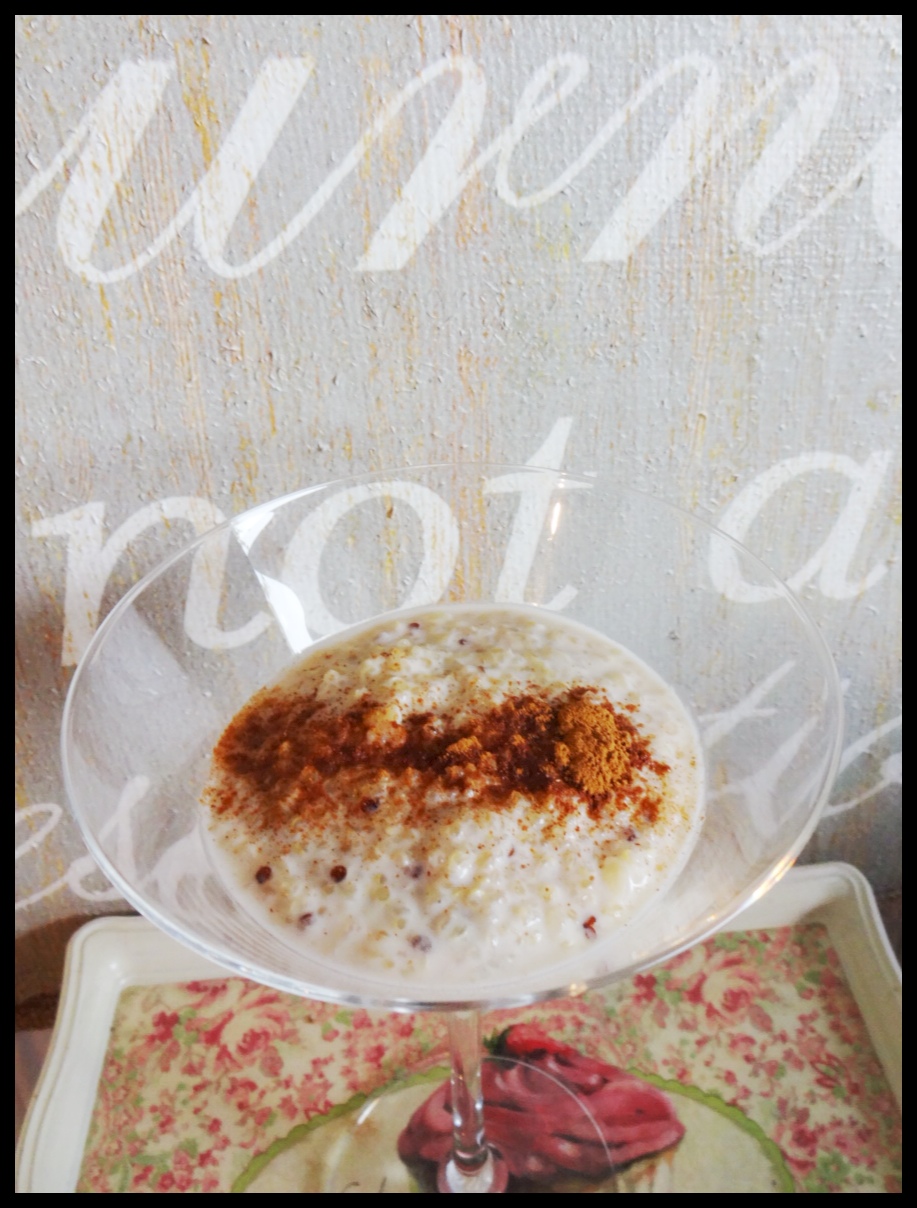
The preparation is pretty similar to that of the Healthy Rice Pudding Recipe I shared with you!

Here’s what to do

  • Quinoa Chocolate Risotto 3In a small sauce pan, place the 1/3 cup of cooked quinoa or brown rice, sweetener, cacao and milk. Stir and bring to a boil over medium-high temperature.
  • Add the chopped chocolate and stir it in. Allow the mix to simmer for 2 minutes, stirring occasionally so it doesn’t stick to the pan.
  • Stir in the banana and walnuts, and allow to simmer for 1 more minute. Turn off the heat and allow the risotto to set for 3-4 minutes.
  • Top with nuts or melted chocolate if you prefer and serve warm!

Enjoy!!

xoxo,

Yoggi B.

Healthy “Rice Pudding or Ριζόγαλο” with Quinoa!

Healthy Rice Pudding 2Ingredients

  • 1/3 Cup of Cooked Quinoa (or Brown Rice if you prefer)
  • 1/2 Cup of Almond Milk
  • 1-2 Tablespoon of Sweetener (or Brown Sugar)
  • 1 Teaspoon of Cinnamon

Wondering what you can do with Almond Milk??? This is a super easy, quick-to-make, sweet treat! I am such a lover of Rice Pudding! My Mom made the best rice pudding when I was growing up…so here’s is my healthy version that I think tastes just as good as the real deal!!

Here’s what to do

  • Healthy Rice Pudding 3Cook the quinoa (or brown rice) according to instructions (usually it should be 1/2 cup of quinoa with a 1 1/2 cups of water – bring to a boil and simmer until water has dried up).
  • Place the cooked quinoa, sweetener and milk in a small sauce pan; feel free to add a cinnamon stick for flavor. Bring the mix to a boil, stirring occasionally, and allow it to simmer for about 3 minutes. Turn off the fire and allow mix to set for 5 minutes.
  • Sprinkle some cinnamon before serving. You can keep it in the fridge or eat it at room temperature!

The texture is just like that of the real Rice Pudding! And overall, it’s a pretty satisfying healthy dessert alternative! I keep healthy treats like this handy! So that I can eat a little something sweet almost every day! (big sweet tooth, you guys..)

Hope you like it!!

xoxo,

Yoggi B.

Homemade Almond Milk

Ingredients

  • almond milk 51 Cup of Almonds (soaked in cold water over night)
  • 3 Cups of Water
  • 1 Teaspoon of Sweetener (optional)

 Here’s what to do:

  • Soak the almonds over night or for 8 hours.
  • Rinse the almonds and throw away the water.
  • Place almonds in blender and add 3 cups of cold water. Blend until you get a white “milky” solution.
  • almond milk 3Using a cheese-cloth, strain the milk (I used the instrument on the picture, this is what we use in Venezuela to filter coffee..it works just fine!); place cloth over a deep bowl and pour the almond milk; the liquid should go through and the cloth should retain the leftover shredded almonds. Squeeze out as much milk as possible.
  • Place in sealed container and refrigerate!

With the leftover shredded almonds you can make Almond Flour:

  • Place the shredded almonds in the oven at 180 C for about 20 minutes, until dry and toasted.
  • Take out of the oven and allow to cool.
  • Place in blender and shred for 30 seconds to 1 minute, until flour consistency is achieved!

Compared to cow milk, almond milk is a much healthier choice! Give it a try and introduce it in your everyday diet!

xoxo,

Yoggi B.

3-EN-1 With Spinach: The Purple Juice!!

 IngredientsPurple Juice

  • 1 Large Orange or Mandarin Juiced
  • 1 Large Carrot
  • ½ Red Beet
  • ½ Banana
  • 1 cup of Spinach
  • 2 tbs of Chia Seeds (Optional)

When I lived in Venezuela I loved drinking a juice called “3 en 1”, which is basically orange, carrot and red beet juice all together. If you read my previous posts, you know that for a while now I’ve included a Green, Spinach juice to my morning meals. So one day I decided to experiment and mix these two juices and see what I came up with! I loved the result, it still tastes like “3 en 1” but with a creamier texture!

Here is how I did it:

I juiced the mandarin/orange, carrots and red beets using a regular juicer. In a blender, added the spinach, banana, the (previously made) juice, chia seeds and blend until smooth. If you don’t have a juicer, just mix everything in a blender with the juiced orange and use a strainer when serving.

Serve with ice and enjoy this bright, purple juice! Drinking the RAINBOW!

Xoxo,

Yoggi B.

Zucchini Meat Boats

Ingredients Zucchini Boats

  • 2 Large Zucchini
  • 250 gr of Minced Meat w/out Fat (Beef or Turkey)
  • 2 Carrots
  • 2 Stalks of Celery
  • 1 Tomato
  • 1 tbs of Olive Oil
  • 1 tbs of Tomato Paste
  • 2 tbs of Shredded Mozzarella (if Low Fat, even better)
  • ¼ cup of Tomato Sauce
  • Spices, salt and pepper to taste

Pre-heat the oven to 175 Celsius 

If you saw my previous post, then you know I have prepared a decadent dessert for tonight, so I made sure to make a light dinner, with no carbs, to balance it out and be able to eat Yaya’s Spring/Summer Cake, without worrying about it. Thats my way of “making my cake and having it too!”, when I want to eat something decadent, I have it, I just balance my other meals accordingly, another concept I learned after reading the book Naturally Thin.

So, Here’s how I prepared them:

  • Prepare the Zucchini: cut them in half and take out the “meat” the inside of the zucchini so that it looks like a “canoe”. Set them aside in a tray. Don’t throw away the inside of the zucchini though, cut it into small squares and set aside.
  • Make the filling*: In a pot add the olive oil, I use a brush to make sure its spread all over, and then I add the carrots, leftover zucchini meat we just cut out, and the celery to sort of make them saute in medium high temperature (these must all be previously chopped). Once the celery has a translucent color add the minced meat and mix it all together, breaking up whatever lumps form along the way. Once the meat starts taking color and looks cooked, I add chopped tomatoes and stir until incorporated. Measure about ½ cup of water and dissolve in it the tomato paste, add it to the meat and stir. Finally add the spices, salt and pepper: I used cumin, black pepper, salt, oregano and a bay leaf or two. Mix it all together, lower the temperature until just simmering (medium low or low temperature) and cover the pot. We want to leave it covered for about 30 mins or until the liquid has dried out. This is my way of making minced meat, feel free to make it anyway you prefer!!
  • Prepare the Boats: While we let the meat simmer, cover the zucchini “boats” with tomato sauce. Though I was born and raised in Venezuela, both my parents are Italians, so I am used to making my own tomato sauce!
  • Start Baking: Once the zucchini are covered put them in the oven for about 10 mins (this will soften them a bit).When the meat is ready, with a spoon fill up the “boats”, put as much filling as you’d like. Sprinkle lightly with the Mozzarella Cheese and back in the oven for another 10 mins or until the cheese is melted.

Serve hot, and enjoy!!!

xoxo,

Yoggi B.

*Note that I don’t use onions, garlic or red/green peppers because I have a huge intolerance to them (because they make me sick I just avoid eating them as much as I can), so feel free to use onions, garlic, etc, if you like!! 

Yaya’s Spring/Summer Cake

Ingredientsyaya's cake

  • 3 cans of Orangeades (Non-Carbonated)
  • 3 packs of 1.5 oz of Pudding Powder
  • 1 can of Evaporated Milk
  • 6 tbs of Sugar (more depending on taste)
  • 3 tbs of Corn Flour
  • 15 Lady Finger (biscuits)

Today my boyfriend’s grandmother invited me over to learn how to make one dessert that she usually makes for us! This cake is one of the few desserts my boyfriend actually likes and eats! And his grandma usually makes it when the temperature starts to warm up..since it’s been nice and sunny in Athens these last few days, we decided to make it!

This cake is super refreshing, easy to make, and doesn’t require baking. I was also pleasantly surprised when I went to buy the ingredients and all together, it was less than 5 euros!

I have only eaten this cake at my bf’s grandma’s, so I honestly don’t know whether its a typical Greek dessert or just one of Yaya’s personal creations!

Either way… Here’s how we did it:

  • We will need to make two mixes, in two separate moulds, using half of the pudding powder, sugar and corn flour for each mix.
  • For mix n.1: Whisk 1 can of orangeade (I used what it’s known here as Fanta Blue/Fanta μπλε) with 1 ½ packets of pudding powder, 1 ½ tbs of Corn Flour, and 3 tbs of sugar, tasting to make sure it’s as sweet as you’d like, and adding the orangeade little by little, until the mix is smooth and without any lumps. Add the remaining 2 cans of Orangeade and transfer the mix to a cooking pot. Set aside for now.
  • Mix n. 2: In another bowl, whisk the other 1 ½ packets of pudding powder, 1 ½ tbs of Corn flour and 3 tbs of sugar (tasting to make sure it’s sweet enough), and the evaporated milk until smooth. In the empty can of the milk, measure 1 cup/can of water and add it to the mix, whisking as you go. Set aside.
  • Place the pot containing mix 1 and place it in the stove at low temperature. Stir constantly with a wooden spoon until the mix thickens but making sure it does not boil.
  • Prepare your mould, or moulds, you will refrigerate the cake in. I used two – 10x20cm moulds. I used the disposable, aluminum molds.
  • Once the mix in the pot has thicken, spread it evenly in the mould. If you are making two small cakes, like we did, spread half the mixture in each mould. While this layer cools a bit, line up the lady fingers once by one on top of the orangeade layer, placing them one next to the other until they cover the entire surface. If the lady fingers are too long to fit your mould, just cut the tips a little until they are the right size.
  • Set the moulds aside for now and take mix 2 (with the evaporated milk) and place it in a cooking pot.
  • Place the pot with the evaporated milk mixture on the stove at low temperature and do the same as with the orangeade mixture (stir over low temperature until it thickens). When ready, spread evenly on your prepared moulds and on top of the lady finger biscuits, covering them all.
  • Basically we are layering the cake, one layer of orangeade mix, followed by one layer of lady fingers, and topped by one layer of the evaporated milk mix
  • Allow for the cakes to reach room temperature before refrigerating for at least 4-5 hours. Serve Cold and keep in fridge.

If the temperature is warming up where you are too, this cake will be the perfect, refreshing, DECADENT Treat!

Enjoy!!

Xoxo,

Yoggi B.

Avocado Chocolate Mousse

Ingredientsavocado chocolate mousse

  • 1 small Avocado (mine was about 100 gr)
  • ¼ cup of the Sweetener of your preference
  • 3 tablespoons of Cacao Powder
  • 1 tablespoon of Plain Greek Yogurt (Optional)
  • 2 pieces/squares of Dark Chocolate

This is my healthy version of a Chocolate Mousse!! It is super tasty, creamy and chocolatey that you would never guess it has Avocado in it!!

Here is what you need to do: Mash the avocado until it reaches a smooth consistency (you can do this in a blender for optimal results). Add the sugar or sweetener, the cacao powder and the plain Greek Yogurt and mix it all together until everything is completely incorporated. Finally, add the 2 squares of dark chocolate, or any chocolate of your preference, which should be previously melted. Mix together until smooth and serve. Add some nuts or sliced almonds for décor and taste!

Feel free to combine recipe ideas!! For example, make Chocolate Covered Strawberries using this Avocado Chocolate Mousse to cover them!! Have fun with it and let me know in the comments below how you like it!!

xoxo,

Yoggi B.

* I absolutely LOVE avocado! Back home they are always in season and they are also huge!!! The avocados I find in Greece are way smaller but just as tasty! (Generally, I prefer the taste of the avocados with the light, soft, bright green “skin” rather than the darker ones with thick “skin”) However, avocados have high content of natural fats so we all need to try and go easy on it!!

My First Fruits & Veggies Juice!

 IngredientsGreen Juice 1.0 Gallery

  • 1 cup of Spinach or Baby Spinach
  • ½ – 1 Banana (depending on size)
  • 1 Large Mandarin (Juiced)
  • 2-3 Strawberries
  • 2 tbs of Chia Seeds (Optional)

Add everything in a blender until smooth, serve with ice and enjoy!! I like to drink this either before or after my workouts (depending on what time of the day I workout LOL)!

Let me share with you a little of why I love making these kinds of juices so much!

It may come as a shock to hear, but eating my vegetables is not my favorite thing in the world. However, we all know that Fresh fruits and vegetables are filled with vitamins, minerals and healthy fibers that are indispensable for a healthy lifestyle. A FUN way I use to include fresh fruits and vegetables in my clean eating is JUICING!!!

I started introducing the concept of vegetables in my morning drink after seeing an interview on the Ellen Degeneres show! Jessica Alba, if my memory serves me right, was sharing her recipe for the juice that she was drinking while loosing weight after having a baby. She said she was using Kale, oranges, strawberries and a banana. I thought it was an interesting idea, so I wanted to try it! At the time I didn’t know where to find kale here in Athens, and I don’t generally eat oranges because they don’t really agree with my stomach to be honest, I have the toughest time digesting them. Thus, I decided to do some substitution to my liking and that is what I came up with for my first fruits & veggies juice, or Green Juice, as it is commonly known today.

If you are new to juicing fruits & veggies, this is a great way to start introducing it! Give it a try and let me know what you think!!

*FYI: About a year after I started making this juice I read in an article that it was actually a metabolic booster! I don’t know if this has been scientifically proven, but either way I think its a super fun way to eat your veggies, don’t you agree??

xoxo,

Yoggi B.

My way of making Chicken Sandwich with Chips!

My-way-chicken-sandwich-chipsIngredients

  • 75 gr of shredded Chicken Breast (boiled, roasted or grilled)
  • 10 gr of Avocado
  • 5 Cherry Tomatoes
  • 1 tbs of Plain Greek Yogurt
  • 2 Corn Cakes
  • Baked Kale Chips

That was lunch today, what I like to call a “Chicken Sandwich with Chips”!!!

I consider it a pretty healthy and light option for lunch (if lunch isn’t your main meal of the day); I tried to get as many colors of the rainbow as I could…. remember to EAT THE RAINBOW!!

I don’t generally measure my food and specially my proteins, but I did it today so that I could share the recipe with you and it could be easier to make! I basically put this together using some Leftover Chicken and fresh veggies..so simple yet delicious! Here is what you need to do:

Pull apart/shred the chicken with your hands and add one tablespoon of Plain Greek Yogurt (mine was a generous tablespoon and I added some Baked Kale Chips for crunchiness, this is optional). Chop the tomatoes and slice the avocado (I used a very thin piece of avocado just for flavor). Place all the ingredients layer by layer in the corn cakes or rice cakes and serve with healthy Baked Kale Chips !

Give it a try! I hope you enjoy it!

xoxo,

Yoggi B.

Baked Kale Chips

baked kaleIngredients

  • 1 bunch of fresh Kale
  • ½ to 1 tablespoon of Olive Oil
  • Salt and Pepper to taste
  • Fresh Lemon Juice (Optional)

Preheat the Oven to 175 Celsius

Wash, stem and cut the kale into bite-size pieces. Place it in a bowl, add the olive oil to lightly coat the kale chips and add salt and pepper. Spread the chips across your baking tray and place in the oven for 20 mins aprox. Once 10 mins have passed, take the chips out of the oven and flip them over. Put them back in the oven for another 10 mins or until they are crispy yet still green!!

Once ready dress with some freshly squeezed lemon juice (optional) and enjoy this healthy, tasty and surprisingly fulfilling snack!

xoxo,

Yoggi B.